We asked asked ChatGPT the QUESTION “how to build a custom pc” and this is what the AI thought;
ANSWER:
Building a custom PC can be a rewarding and cost-effective way to get exactly the specifications you need for your specific requirements. Here’s a general guide on how to build a custom PC:
1. Define your needs: Determine the purpose of your PC and the tasks you’ll be performing. This will help you choose the right components and prioritize your budget.
2. Set a budget: Decide how much you’re willing to spend on your custom PC. This will influence the selection of components you can afford.
3. Select the components:
a. Processor (CPU): Choose a CPU based on your budget and performance requirements. Consider factors like the number of cores, clock speed, and compatibility with other components.
b. Motherboard: Select a motherboard that is compatible with your chosen CPU. Consider the form factor, expansion slots, RAM compatibility, and other features you may need.
c. Memory (RAM): Determine the amount of RAM you’ll need for your tasks. Choose a reputable brand and ensure compatibility with your motherboard.
d. Storage: Decide between an SSD (Solid State Drive) and an HDD (Hard Disk Drive) based on your budget and speed requirements. SSDs are generally faster but more expensive per gigabyte.
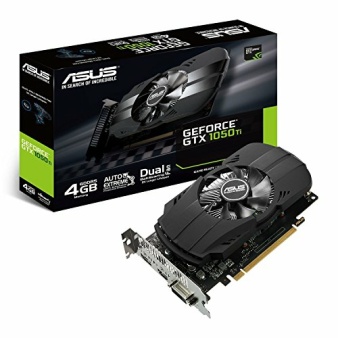
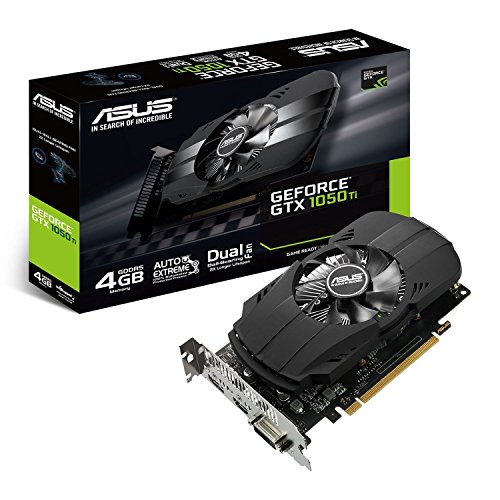
e. Graphics Card (GPU): If you’re building a gaming PC or working with graphics-intensive tasks, invest in a dedicated GPU. Consider factors like performance, VRAM, and compatibility.
f. Power Supply Unit (PSU): Choose a PSU with sufficient wattage and good efficiency. Ensure compatibility with your components and consider future upgradability.
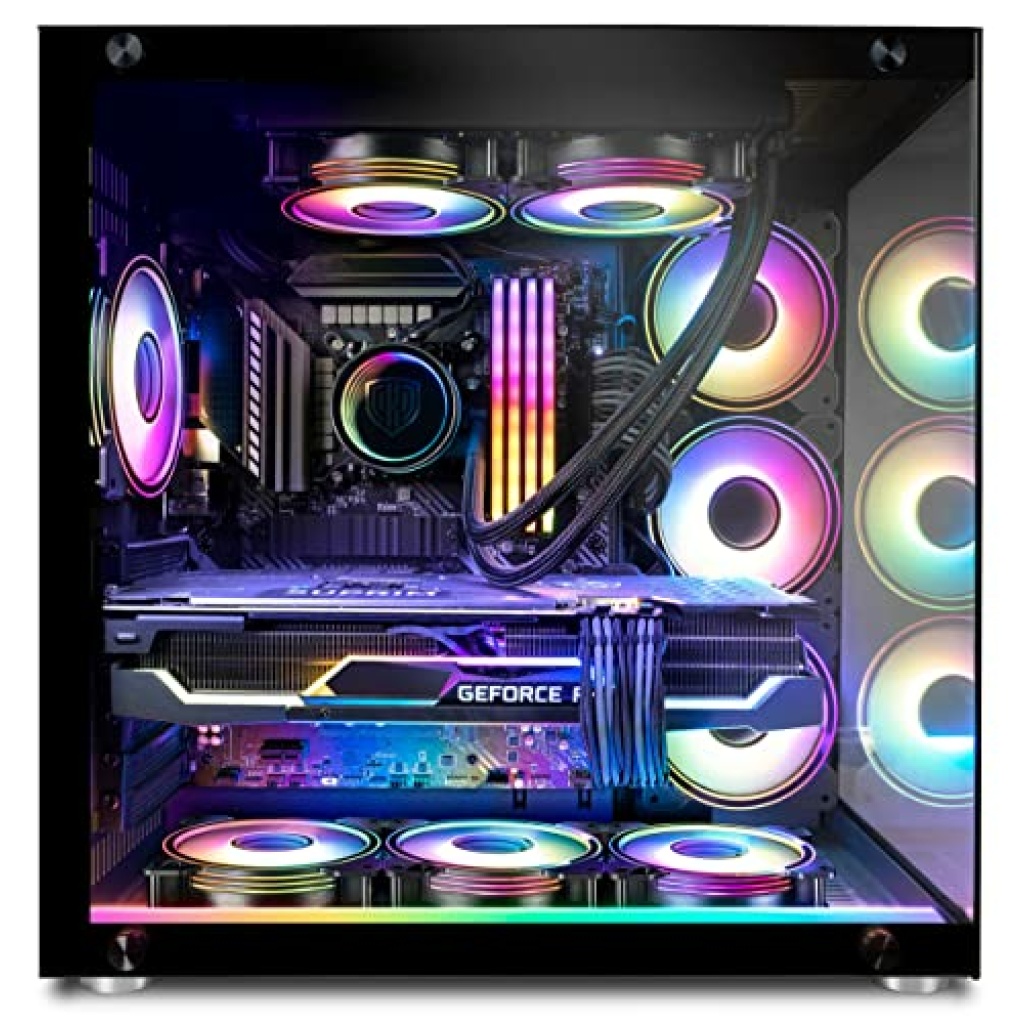
g. Case: Select a case that fits your chosen motherboard form factor and has sufficient space for your components. Consider airflow, cable management, and aesthetics.
h. Cooling: Decide between air cooling and liquid cooling. Ensure your case and components support your chosen cooling solution.
i. Peripherals: Include peripherals such as a monitor, keyboard, mouse, and speakers in your budget if needed.
4. Assemble the PC:
a. Prepare your workspace: Ensure you have an anti-static surface, necessary tools, and good lighting.
b. Install the CPU, CPU cooler, and RAM into the motherboard according to their respective instructions.
c. Mount the motherboard into the case and connect necessary cables (power, data, front panel, etc.).
d. Install the storage drives, graphics card, and any additional expansion cards into their respective slots.
e. Connect the PSU cables to the motherboard, storage drives, graphics card, and other components.
f. Double-check all connections and ensure everything is securely in place.
g. Close the case and connect peripherals.
5. Install the operating system (OS):
a. Insert the OS installation media (USB drive or DVD) and boot the PC.
b. Follow the on-screen instructions to install the OS. Make sure to format and partition the drives as desired.
6. Install drivers and software:
a. Install the necessary drivers for your components (graphics card, motherboard, etc.) from the manufacturer’s website.
b. Install any desired software or applications for your specific needs.
7. Test and optimize:
a. Power on the PC and ensure all components are working correctly.
b. Update the OS and drivers to the latest versions.
c. Run benchmarking tests to ensure the system is performing as expected.
d. Adjust settings and optimize performance based on your needs.
Remember to take necessary precautions, such as wearing an anti-static wristband, to avoid damaging components. If you’re unsure about any step, consult the manuals and guides provided by the component manufacturers or seek assistance from knowledgeable individuals or communities.


